You must have the EBS4Agent5eRegister licence to enable the eRegisters functionality in Ontrack Staff Hub.
Use the eRegisters functionality to:
You must have the Edit Marked Register role in the EBS Ontrack Edit Marked Register group of User Management to edit submitted Register.
If a mistake has been made to a register, such as a learner being marked as absent and then turning up late, it is possible to edit the eRegister after it has been submitted.
To edit a submitted eRegister:
-
In the Action field on the E-Registers page (for United Kingdom users) or Registers page (for New Zealand users), click the Edit Attendance button beside the required eRegister.

The Mark Register page is displayed.
-
Click the Edit Register button.

-
Edit the eRegister as required. See Mark an eRegister for more information.
-
Click one of the following:
-
Click the Finish Later button to save the eRegister to complete later
-
Click the Submit Marks button to submit the eRegister

A confirmation message is displayed.

-
-
Click Close to close the message.
Further options relating to an eRegister are available in the eRegister Details pane on the right-hand side of the Mark Register page.

The fields on the Register Details pane are described in the following table.
| This field | Holds this information... |
|---|---|
| Courses/Groups | The course code of the selected eRegister. |
| Staff | The staff member assigned to the eRegister. Click the staff name to view the staff record on the Staff Details page. |
| Rooms | The room code associated with the register event. |
| Register Notes | Additional notes relevant to the register. |
| Learner Name | The name of the learner accompanied with a picture of them. |
| Mobile Phone Number |
The mobile phone number of the selected learner (if available). A photo of the selected learner will also be displayed above the Mobile Phone Number field if available. |
| Learner Notes | Additional notes relevant to the selected learner. |
| Progress | The pending progress status of the selected learner. |
| Progress Date | The progress date when the new progress status is effective from. Click the Calendar button to display a calendar, where you can select a date. |
You can manage event attendance by generating a PIN so that learners can confirm their attendance, which you can then verify.
To manage event attendance:
-
Click the PIN button on the Mark Register screen (accessed by clicking a register on the My Registers screen) for an active register event.
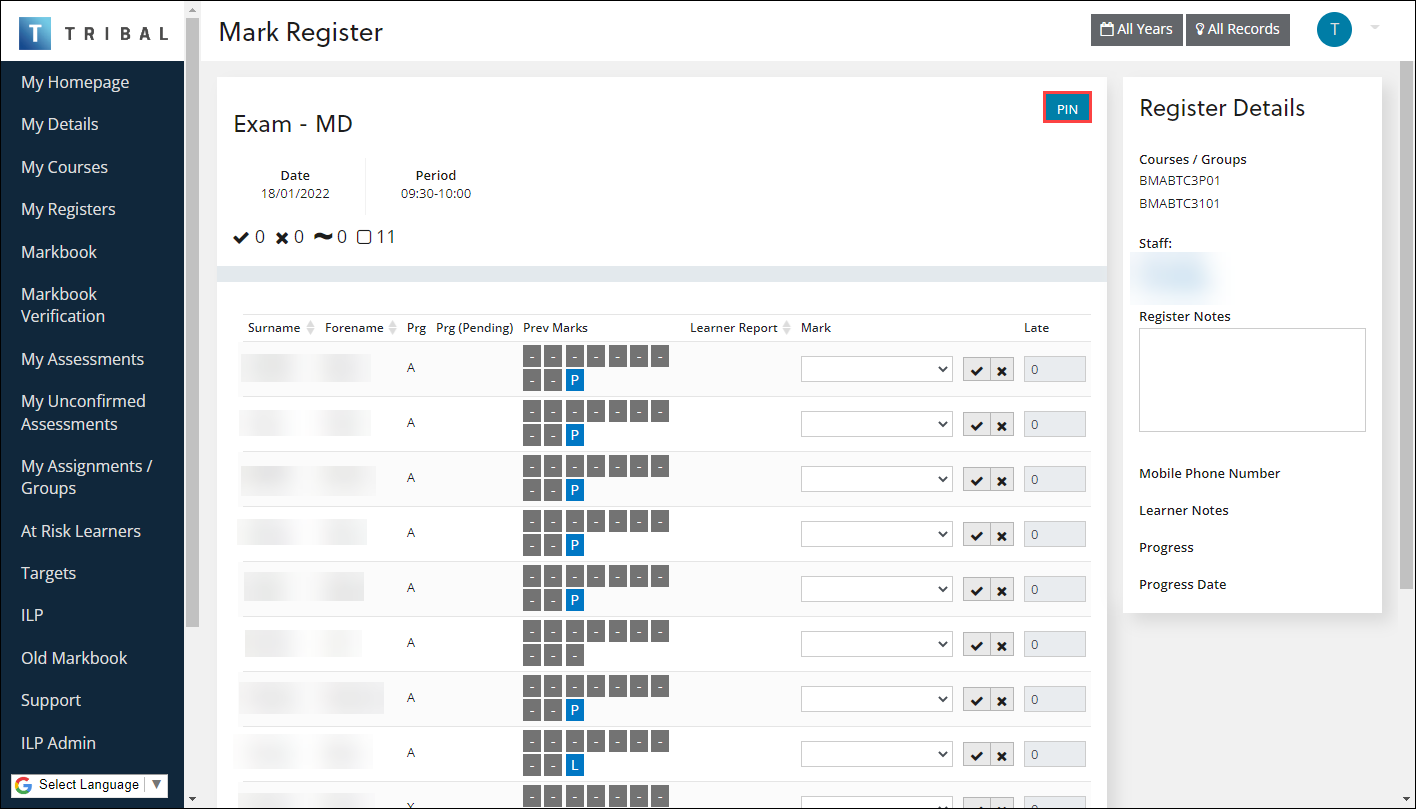
A unique PIN is displayed which learners can use in Ontrack Learner Hub on the Attendance Reporting screen, to mark themselves as present for the register event.
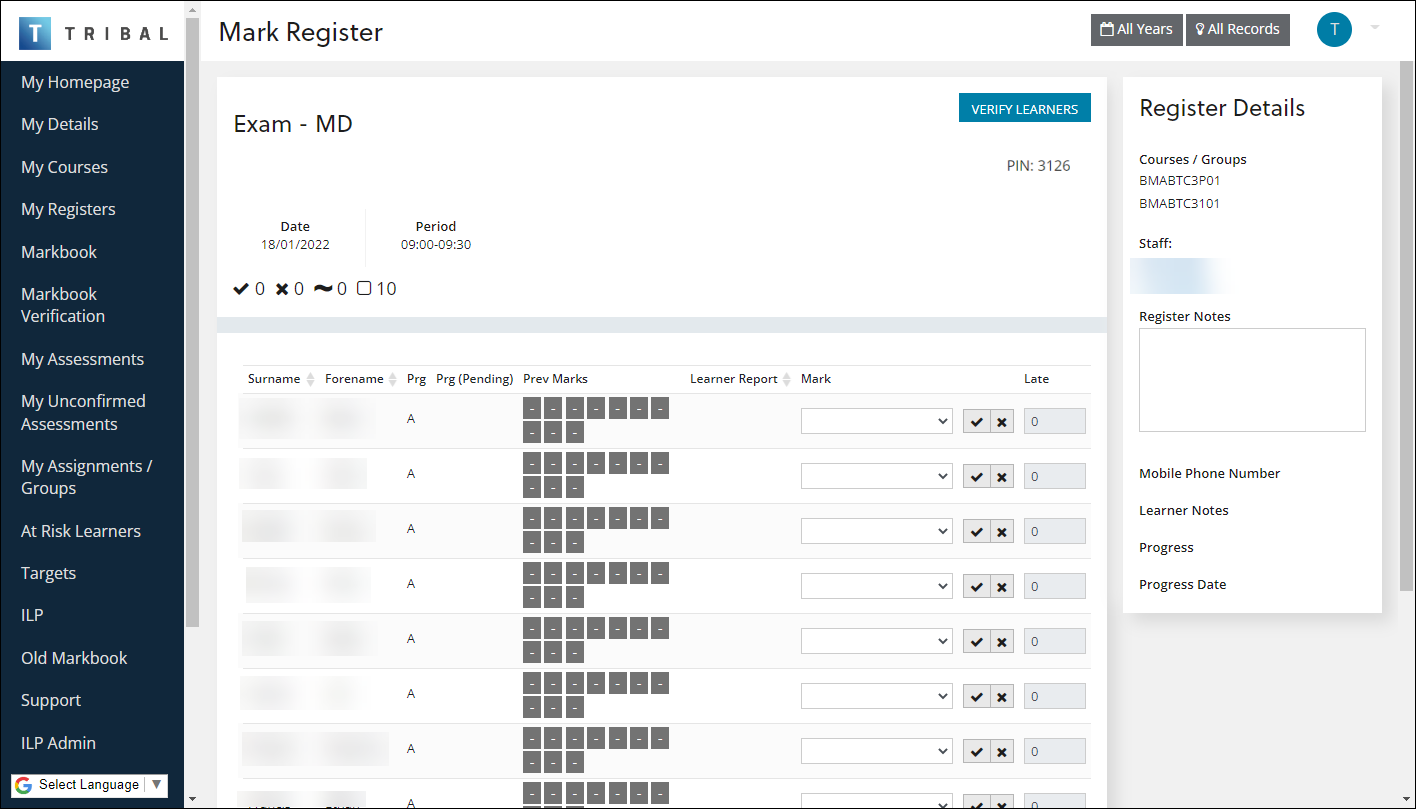
-
Click one of the following:
-
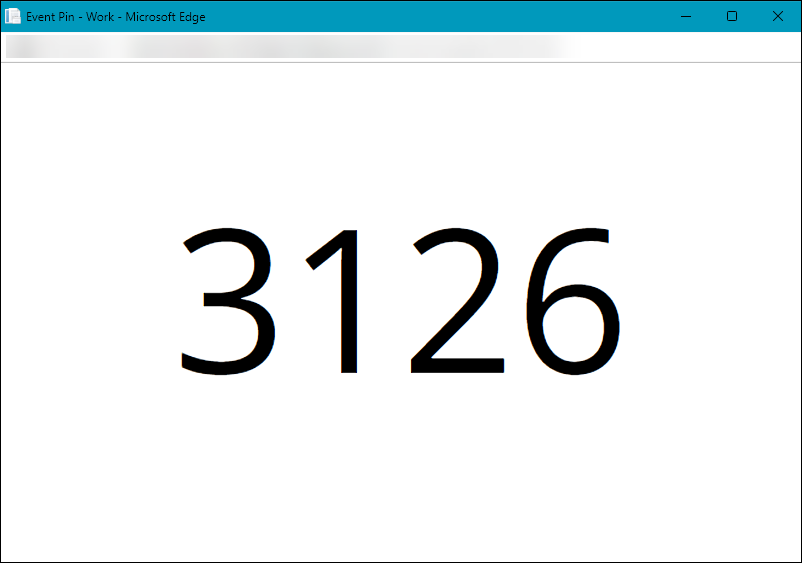
Click the PIN to display the Event Pin window
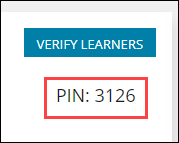
The Event Pin window can be shared with learners (for example: on a shared display)
-
Click the Verify Learners button to verify attendance
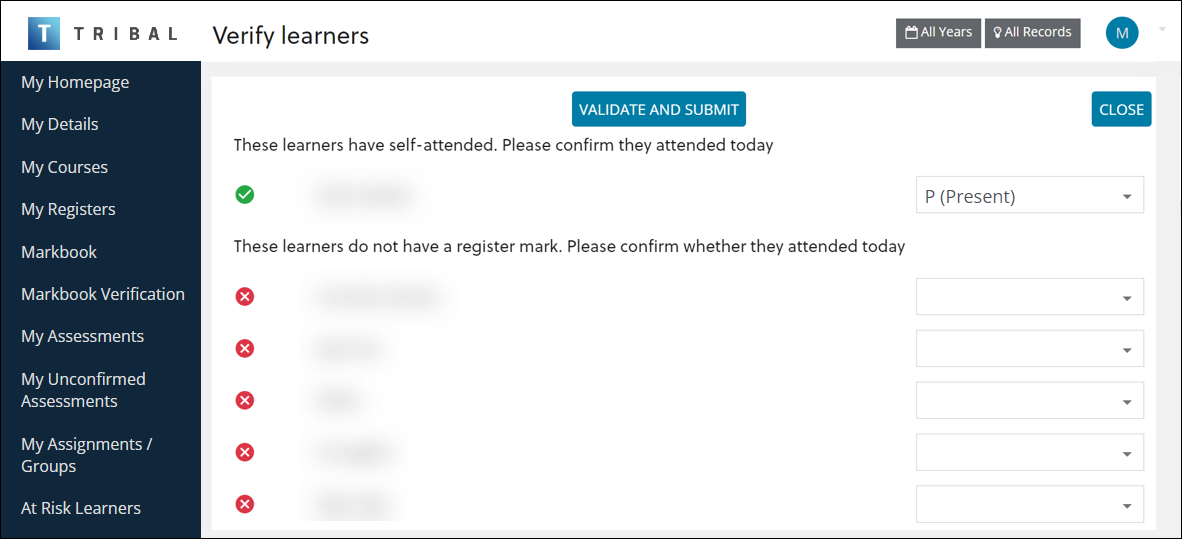
The Verify Learners screen is displayed where you can confirm attendance for:
-
Learners that have self-attended
-
Learners without a register mark
Visibility of learners without a register mark requires the Validate empty marks institution setting (on the Attendance Reporting screen) to be set to 'Y'.
-
-
Click VALIDATE AND SUBMIT to confirm attendance
-
eRegisters which require marking and are assigned to you are displayed in the Registers For Marking section on the Staff Registers page (accessed from the My Registers option in the navigation pane).

-
Click the register description for the eRegister due to be marked.

You can also select eRegister to mark from the E-Registers page (accessed from the Registers Links pane).
The eRegister is then displayed on the Mark Register page.

The fields on the Mark Register page are described in the following table.
| This field | Holds this information... |
|---|---|
| Candidate Number |
The candidate number is displayed when the event type is set to E. The values displayed for this column depends on the board type used. The candidate number is not displayed for non-exam registers. |
| Mark |
The types of mark available to select for learner attendance records. Select from the drop-down list. You can also use the appropriate shortcut key to select the required mark. The following applies to register marks where the usage code is flagged in Register Usage Codes reference data:
|
| One-Click Marking |
The Enable One-Click register marking? institution setting must be set to Y to enable the one-click marking buttons. Enter a default positive or negative mark against a learner record by clicking the required one-click marking button. Default positive and negative marks are set up in Register Usage Codes reference data. |
| Late |
The Record late minutes on eRegisters? institution setting must be set to Y to enable the Late field. The minutes a learner is late for a class. A valid late mark must be entered to be able to complete the lateness of a learner (that is: the Late check box is selected in Register Usage Codes reference data for the mark entered). |
-
Mark the register.
If required, to apply the same mark for all learners on an eRegister, select a mark for the first learner on an eRegister, and then click the Fill Down button.

If the Preserve existing marks when filling down? institution setting is set to Y, any marks already entered are not changed when you click the Fill Down button.
- Click one of the following:
- Click the Finish Later button to save the eRegister to complete later
- Click the Submit Marks button to submit the eRegister

A confirmation message is displayed.

- Click Close to close the message.
eRegisters which require marking and are assigned to you are displayed in the Your Registers For Marking section on the Ontrack Staff Hub Homepage.

To mark an eRegister from the Your Registers For Marking section:
-
Click the register description for the eRegister due to be marked.

You can also select eRegisters to mark from the Registers page (accessed from the Registers Links pane).
The eRegister is then displayed on the Mark Register page.

The fields on the Mark Register page are described in the following table.
| This field | Holds this information... |
|---|---|
| Mark |
The types of mark available to select for learner attendance records. Select from the drop-down list. You can also use the appropriate shortcut key to select the required mark. |
| One-Click Marking |
The Enable One-Click register marking? institution setting must be set to Y to enable the one-click marking buttons. Enter a default positive or negative mark against a learner record by clicking the required one-click marking button. Default positive and negative marks are set up in Register Usage Codes reference data. |
| Late |
The Record late minutes on eRegisters? institution setting must be set to Y to enable the Late field. The minutes a learner is late for a class. A valid late mark must be entered to be able to complete the lateness of a learner (that is: the Late check box is selected in Register Usage Codes reference data for the mark entered). |
-
Mark the register.
If required, to apply the same mark for all learners on an eRegister, select a mark for the first learner on an eRegister, and then click the Fill Down button.

If the Preserve existing marks when filling down? institution setting is set to Y, any marks already entered are not changed when you click the Fill Down button.
- Click one of the following:
- Click the Finish Later button to save the eRegister to complete later
- Click the Submit Marks button to submit the eRegister

A confirmation message is displayed.

- Click Close to close the message.
| This field | Holds this information... |
|---|---|
| Courses/Groups | The course code of the selected eRegister. |
| Staff | The staff member assigned to the eRegister. Click the staff name to view the staff record on the Staff Details page. |
| Register Notes | Additional notes relevant to the eRegister. |
| Learner Name | The name of the learner accompanied with a picture of them. |
| Mobile Phone Number |
The mobile phone number of the selected learner (if available). A photo of the selected learner will also be displayed above the Mobile Phone Number field if available. |
| Learner Notes | Additional notes relevant to the selected learner. |
| Progress | The pending progress status of the selected learner. |
| Progress Date | The progress date when the new progress status is effective from. Click the Calendar button to display a calendar, where you can select a date. |